Open up almost any DIY electronics project and you'll find the same guilty secret: a tangle of bare wire splices held together with electrical tape and hope. WAGO lever clamps solved the splice problem years ago — but they left the enclosure problem wide open. A maker sharing files on Printables just closed that gap with a print that snaps a whole bank of clamps into one tidy, closed box.
WAGO's lever-nuts are the reason a lot of hobbyists stopped soldering wire joins altogether. Flip the orange lever, push in a stripped wire, flip it back down, and you've got a solid, reusable connection — no crimping, no heat, no twisting wires by hand. They come in 2-, 3-, and 5-port versions, and they've become a default way makers join wires inside enclosures, behind panels, and in junction boxes of their own.
The catch is that a bank of WAGO clamps is still just a bank of WAGO clamps sitting out in the open. Nothing stops a stray screwdriver, a curious pet, or a drawer full of tools from prying a lever open and pulling a wire loose. That's where a dedicated 3D printed junction box helps: a snug shell sized to your clamp count, with slots for wires to enter and exit and a lid that closes over the levers so nothing gets bumped. It turns a handful of loose connectors into something that looks — and behaves — like a proper enclosure.
Printing one is about as simple as 3D printed parts get. Check the footprint for your clamp count first, since 2-way, 3-way, and 5-way lever-nuts are all different widths, then print the shell in PETG or ABS if it'll sit somewhere warm, or PLA for a quick indoor fix. Most designs need no supports since they're just a shell with wire slots, and a standard 0.2 mm layer height keeps the walls strong enough to shield the levers underneath. Once it's printed, seat the WAGO clamps inside, thread your wires through the slots, and close the lid.
Try it on your printer: if you keep a drawer of go-to enclosure prints, a WAGO junction box belongs right next to your cable clips and cord organizers — a small, useful print that quietly saves you from a mess of tape later. Browse ready-to-print enclosure and cable-management files over at Flarelab and add one to your next print queue.
Frequently asked questions
Do I need a different box for every WAGO clamp size?
Yes — 2-port, 3-port, and 5-port WAGO lever-nuts are different widths, so the enclosure needs to match the clamp count you're using. Many designers publish a few sizes, or the model can be scaled along one axis if it's parametric.
What filament should I use for a WAGO junction box?
PETG or ABS hold up best if the box will sit somewhere warm, like near a power supply or inside a wall cavity, since they resist heat better than PLA. For a quick indoor fix away from heat sources, PLA works fine.
Do I need supports to print this?
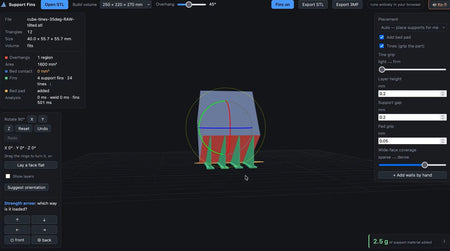
Usually not. Most WAGO enclosure designs are simple shells with wire slots, so they print cleanly flat on the bed without supports, which also keeps the interior smooth for the clamps to sit against.
Is a printed enclosure actually safer than bare WAGO clamps?
It helps for low-voltage and light household wiring by protecting the levers from being bumped open, but always follow your local electrical code and manufacturer guidance for anything connected to mains power.
Inspired by a design shared on Adafruit's #3DThursday blog. Rewritten and expanded by Flarelab.