Picture peeling a creepy, fully poseable spider straight off your print bed — every leg already bending at the joints, with zero screws, glue, or fiddly assembly. That is the magic of a print-in-place articulated model, and this spooky spider is one of the friendliest ways to try it.
Print-in-place means the moving joints are built during the print itself. Your slicer lays down tiny gaps between the parts — usually around 0.2–0.3 mm — so the pieces fuse into one object but never actually stick together. When the print finishes, you gently flex each joint to free it, and suddenly a solid blob of plastic becomes a wiggling, dangling arachnid. No hardware, no waiting for glue to cure.
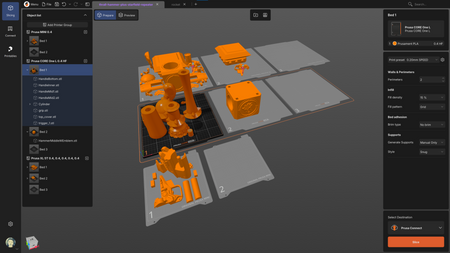
What makes this particular spider great for beginners is that everything ships as a single 3MF file with all the parts pre-arranged on the plate. You do not need a multi-material system or an AMS to get a two-tone look either — the eyes can be printed separately and popped in, so a single-color printer still produces a convincing result. It is a forgiving project that teaches a genuinely useful skill.
Here is how to set yourself up for success. Load the 3MF, keep your layer height modest (0.2 mm is a safe starting point), and print slowly for the first layer so the joints seat cleanly. Before you commit to the whole creature, run a quick test with just one leg set — this tells you whether your printer's tolerances free the joints without leaving them floppy. If a joint feels welded, nudge your clearance slightly wider in the slicer and try again. Once a leg moves smoothly, you can print the full model with confidence. Skip supports wherever you can, since the model is designed to print flat on the plate, and let the finished spider cool completely before you start flexing the joints so the plastic does not tear.
Try it on your printer. This spider is a perfect weekend warm-up before the Halloween rush, and it pairs nicely with a spool of glow-in-the-dark or matte-black filament. If you are stocking up on filament, nozzles, or a fresh build sheet for your spooky-season prints, browse the shelves at Flarelab and get everything ready before the cobwebs come out.
Frequently asked questions
Do I need a multi-material printer for the two-color eyes?
No. The eyes can be printed as separate small parts and inserted by hand, so a standard single-extruder printer gives you the two-tone look without an MMU or AMS.
What layer height should I use?
Start at 0.2 mm. It balances joint clearance and surface detail well. Print the first layer slowly so the articulated pieces seat cleanly on the bed.
Why are my joints stuck together after printing?
Your clearance is likely too tight for your printer's tolerances. Widen the gap slightly in your slicer, or gently flex the joints to break them free after the print cools.
What filament works best for a Halloween spider?
Standard PLA prints easily and holds detail. For extra effect, try matte black, or a glow-in-the-dark filament so your spider lurks in the shadows after dark.
Inspired by a community project shared via Adafruit's #3DThursday. Model by Lucky 13 Toys on MakerWorld. Curated and rewritten by Flarelab.