Your computer already knows how hard it is working — the CPU temperature, the RAM you have eaten through, the fan speed. It just never volunteers any of it unless you go digging through a task manager. A maker posting as Keralots decided that was backwards, and built a palm-sized desk companion that reports the numbers on its own: a 3D printed shell holding a tiny microcontroller and an OLED screen. When the PC shuts down, the same little box quietly switches over to being a clock, complete with a bouncing retro-game animation.
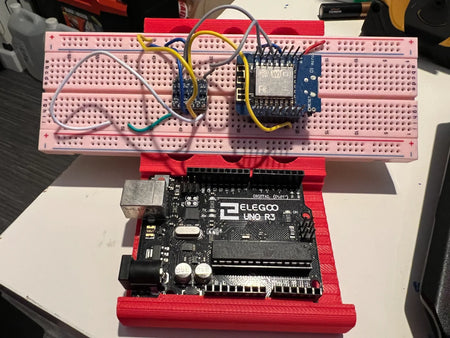
The electronics are refreshingly cheap. An ESP32-C3 SuperMini board does the thinking, and a 0.96 inch SSD1306 OLED does the showing — both are common, inexpensive modules you can find almost anywhere hobby electronics are sold. A small script running on the PC reads the system sensors and hands the values to the board, which redraws the display in real time. Firmware and the monitoring script are both published openly, so nobody has to write the hard parts from scratch.
The printed enclosure is where the design has clearly been through a few rounds of refinement. The third revision replaced fasteners with snap-locking pieces, so the case closes by hand with no screws and no glue. It also unified two separate shells into one part that fits either of the two common OLED pinouts — a small mercy if you have ever ordered a display and received the other version. There is an optional cutout for a TTP223 touch sensor, and room for a 29 mm filament LED bar if you want a glowing accent strip along the front.
How to print it well
Treat this as a fit-critical print rather than a decorative one. A 0.4 mm nozzle at 0.2 mm layers is plenty, with 15–20% infill and three perimeters for stiff snap arms. Orient the shell so the display window faces upward, and lay the clip pieces flat so their layer lines run across the flex rather than along it. PLA is fine for a desk; choose PETG if the gadget will live somewhere warm or sunny. Most importantly, print one clip on its own first and check the snap before committing to the whole case — a tenth of a millimetre of horizontal expansion is the difference between a satisfying click and a snapped arm.
Try it on your printer
This is a great weekend build if you have been meaning to combine printing with a bit of electronics: the enclosure is small, the parts are cheap, and the payoff sits on your desk telling you something useful every day. If you need filament that holds crisp snap-fit tolerances, or a printer that can hit them reliably, have a look at what we stock at Flarelab — we put together kit for exactly this kind of project.
Frequently asked questions
Do I need supports to print this case?
Mostly no. If you orient the shell so the display window faces up and print the snap-lock pieces flat on the bed, the overhangs stay shallow enough to bridge cleanly. Only steep internal ledges may want a few supports.
Which OLED should I buy?
A 0.96 inch SSD1306 module. There are two common pin orders on the market, and this design was revised so a single printed case fits both — just check which variant you have before you solder.
Will PLA survive sitting next to a warm PC?
On a desk, yes. PLA starts softening around 55–60°C, and ambient desk air never gets close. If the gadget will sit in direct sun or on top of a hot case vent, print it in PETG instead.
My snap-fit parts are too tight to close. What now?
That is almost always horizontal expansion, not a design flaw. Print a small test piece, then adjust your slicer's XY compensation by about -0.05 to -0.1 mm and reprint just the clip. Do not force the parts — 3D printed snap arms break at the base.
Spotted via Adafruit, original project by Keralots. Written up in our own words by the Flarelab team.